How to Import Meta Box Custom Field Data Using WP All Import
In this article, we show you how to import Meta Box custom field data, including how to modify that data during the import itself.
Meta Box is a powerful plugin used to create custom meta boxes and custom fields for any WordPress post type.
WP All Export is a WordPress/WooCommerce plugin that lets you export data from all WordPress and WooCommerce post types, including data from custom fields.
WP All Export has now created a Meta Box Export Add-On to help you export data from Meta Box custom fields. In this article, we provide you with a quick tutorial on how this is done.
You can obtain the free version of the Meta Box plugin from https://wordpress.org/plugins/meta-box/. Install and activate it as you would any other WordPress plugin.
You can purchase additional extensions for Meta Box via this pricing page.
You can purchase WP All Export’s Meta Box Export Add-On from this page. Follow the installation instructions provided as part of the purchase process.
WP All Export uses the same basic process to export all WordPress or WooCommerce post types. The main differences occur in the Drag & Drop screen. Here are the basic steps:
Navigate to All Export › New Export and select the post type that contains the Meta Box custom field data that you want to export. This is an important point: you cannot export the data in the custom fields on its own. You must export the post type that contains those fields.
In this example, we are exporting the Properties post type, which contains several Meta Box custom fields that are used to store added information on each property:
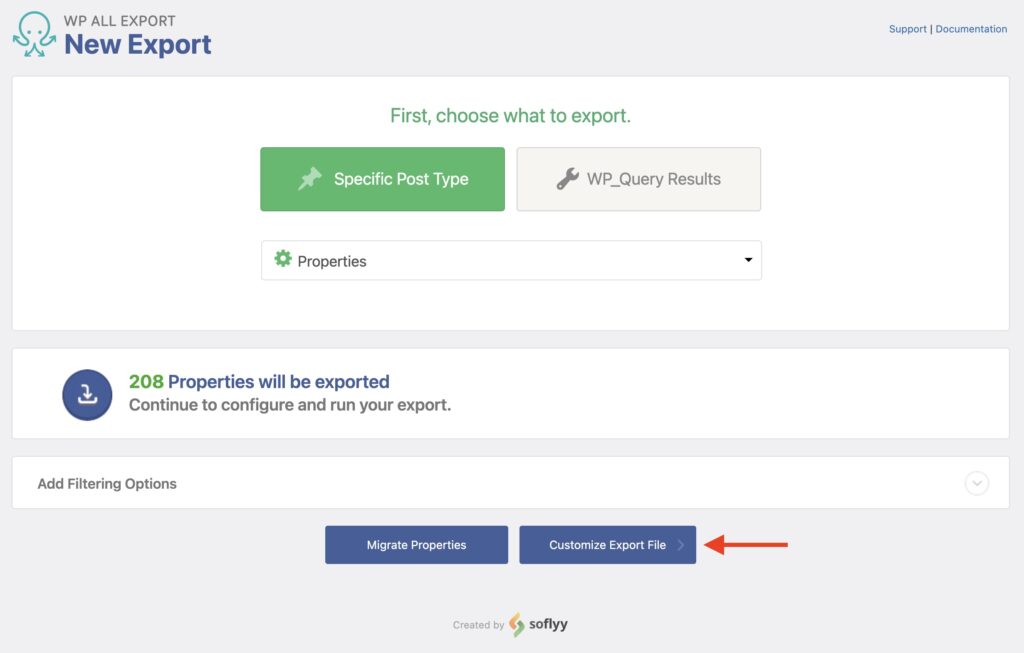
To continue, click the Customize Export File button.
This will bring you to the Drag & Drop interface, which lets you create your export column layout. You do this by expanding the subsection of interest in the Available Data panel on the right, then dragging and dropping the desired fields from that subsection into the column selection area on the left.
In this example, we’ve dragged over all of the Meta Box custom fields associated with the Properties post type:
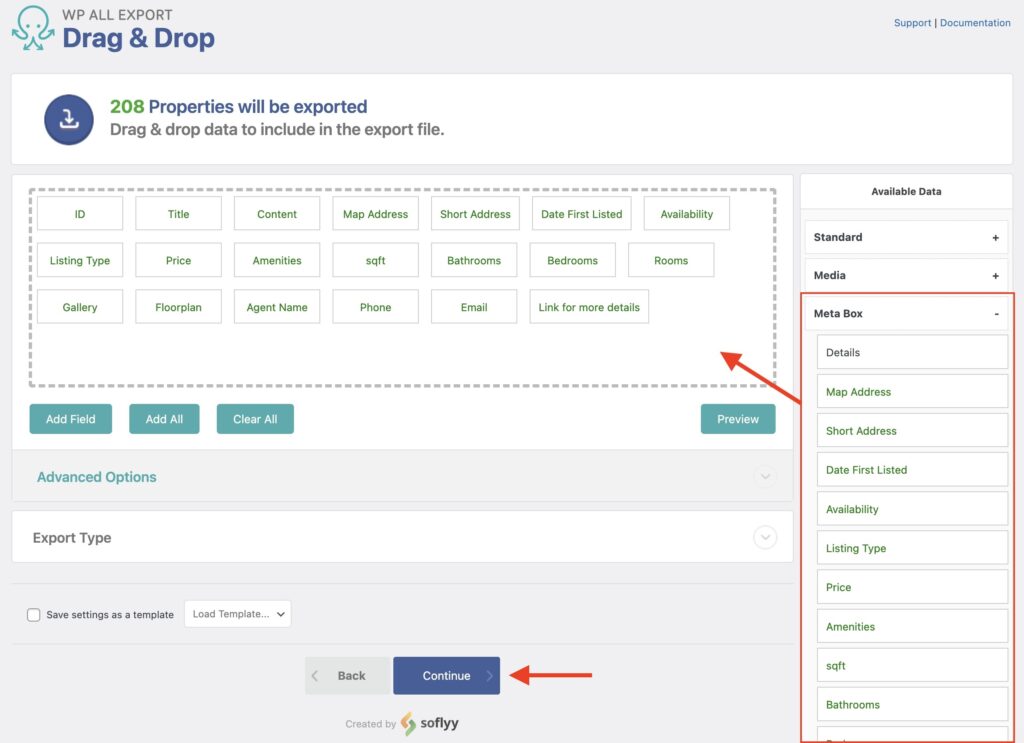
When you’ve finished selecting the desired fields, click the Continue button at the bottom.
The Export Settings screen will appear next:
In the Scheduling Options section of this screen, you can schedule your export to run daily, weekly, or monthly. We describe this in more detail in Advanced Features.
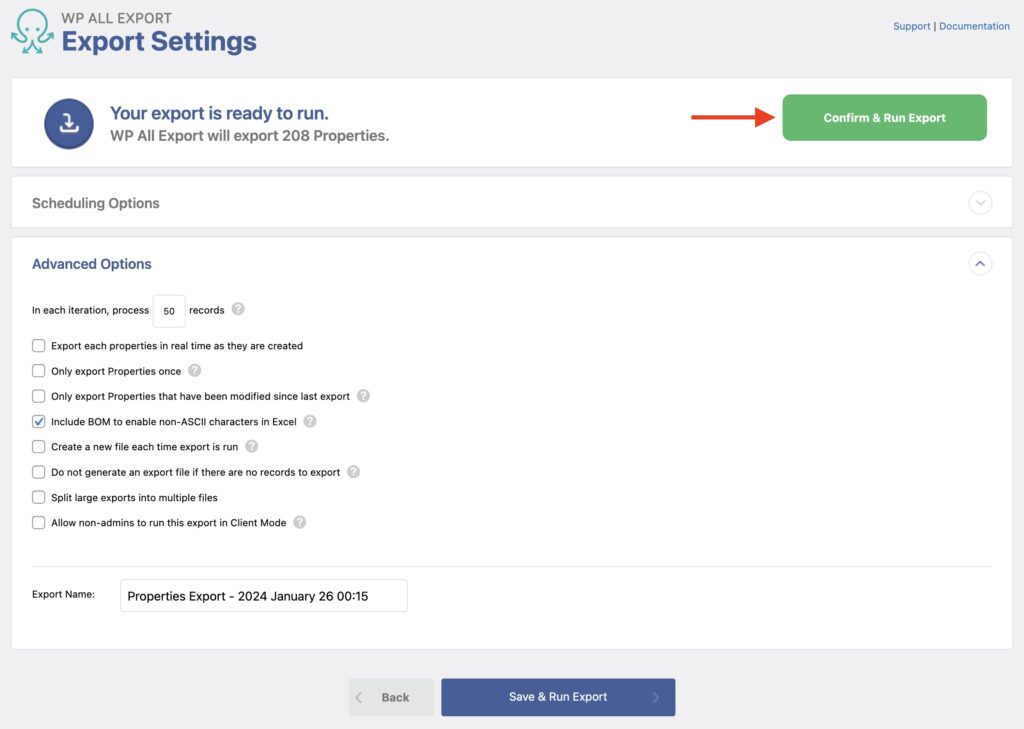
The Advanced Options section of this screen gives you options to control which categories of properties get exported (new, update, etc.), whether to create a new file every time the export is run, and so on.
Once you’ve configured your settings, click Confirm & Run Export to run the export.
The Export Complete message will appear after the export finishes.
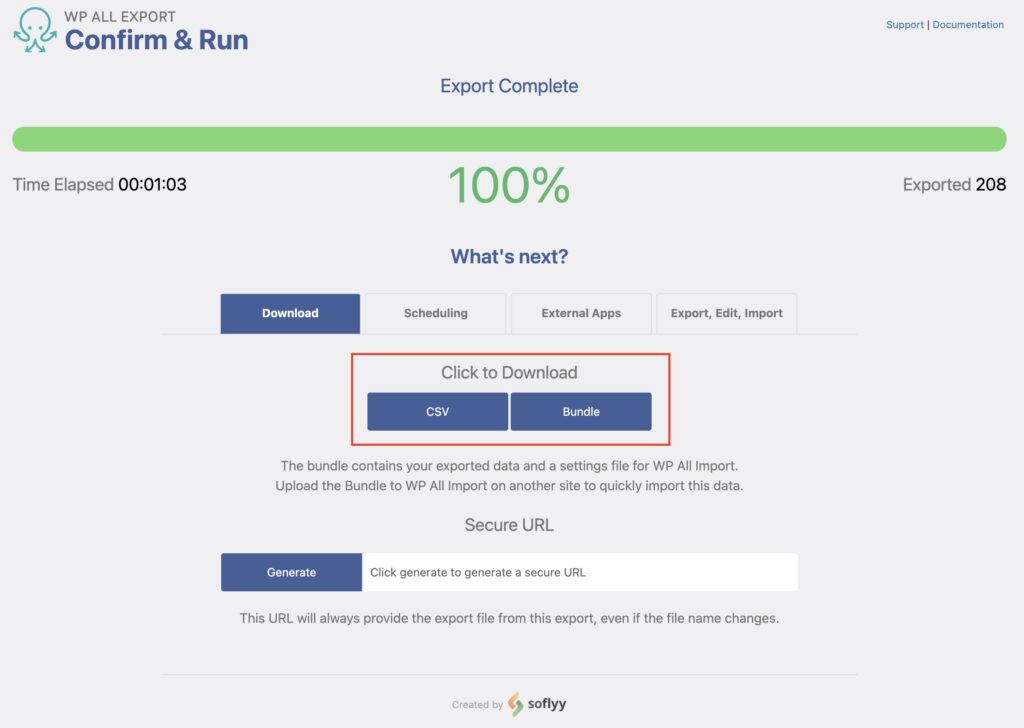
Here, in the Click to Download section, you can click the CSV button to download your export file. If you changed the export type to XML, this button would read XML instead (more about this in Advanced Features).
Alternatively, you click the Bundle button to download not only the export file, but also a second file containing instructions for WP All Import on how to import the data on another site. This is how you can migrate the data from Metabox Custom Fields between websites.
You can filter your export by expanding the Add Filtering Options section of the New Export screen:
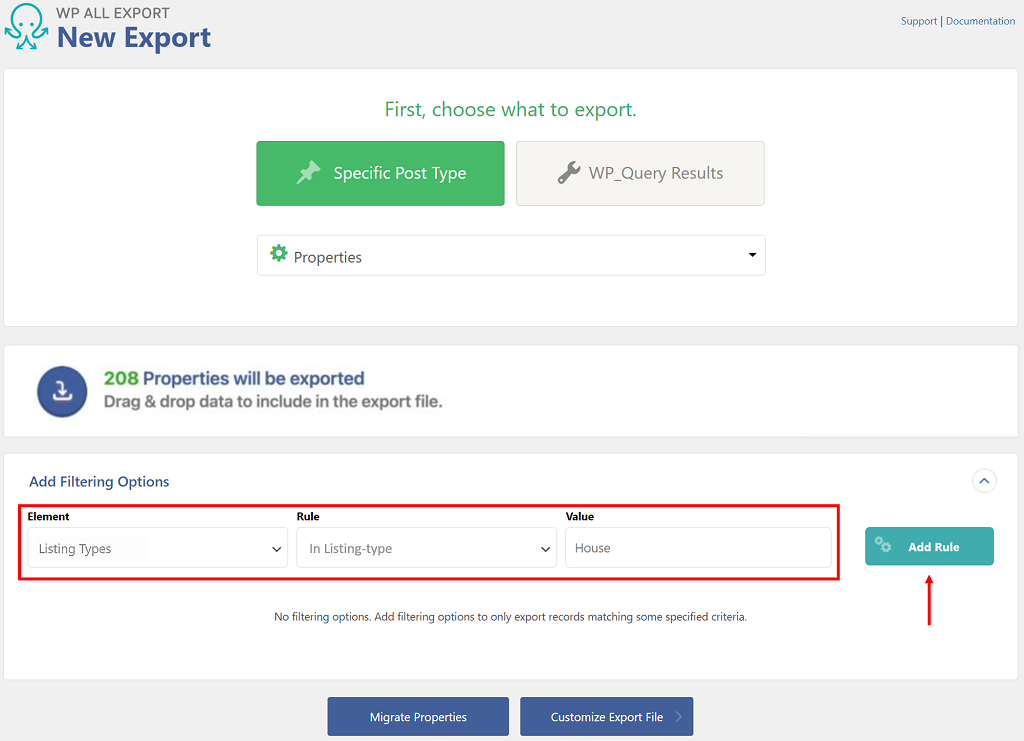
Here, you can add rules by providing an Element, a Rule, and a Value. In this example, our entries are:
Element = Listing Types
Rule = In Listing Type
Value = House
In plain English, our rule might read, “Export only properties with a listing type of ‘House’”.
You can add as many rules as you like, separating them with either an AND or OR condition.
For more information, see How to Filter WordPress Data.
You can schedule your export by expanding the Scheduling Options section of the Export Settings screen and selecting the Automatic Scheduling option:

As the screen shows, you can choose the day, time, and frequency for the schedule. Note, this is a paid service that costs $9 per month.
Alternatively, you can schedule your exports for free by manually creating cron jobs on your server.
To learn more about these options, see How to Schedule WordPress Exports.
In our main example, we exported our data to a CSV file. This is the default. To change the export file type to another format, expand the Export Type section at the bottom of the Drag & Drop screen:
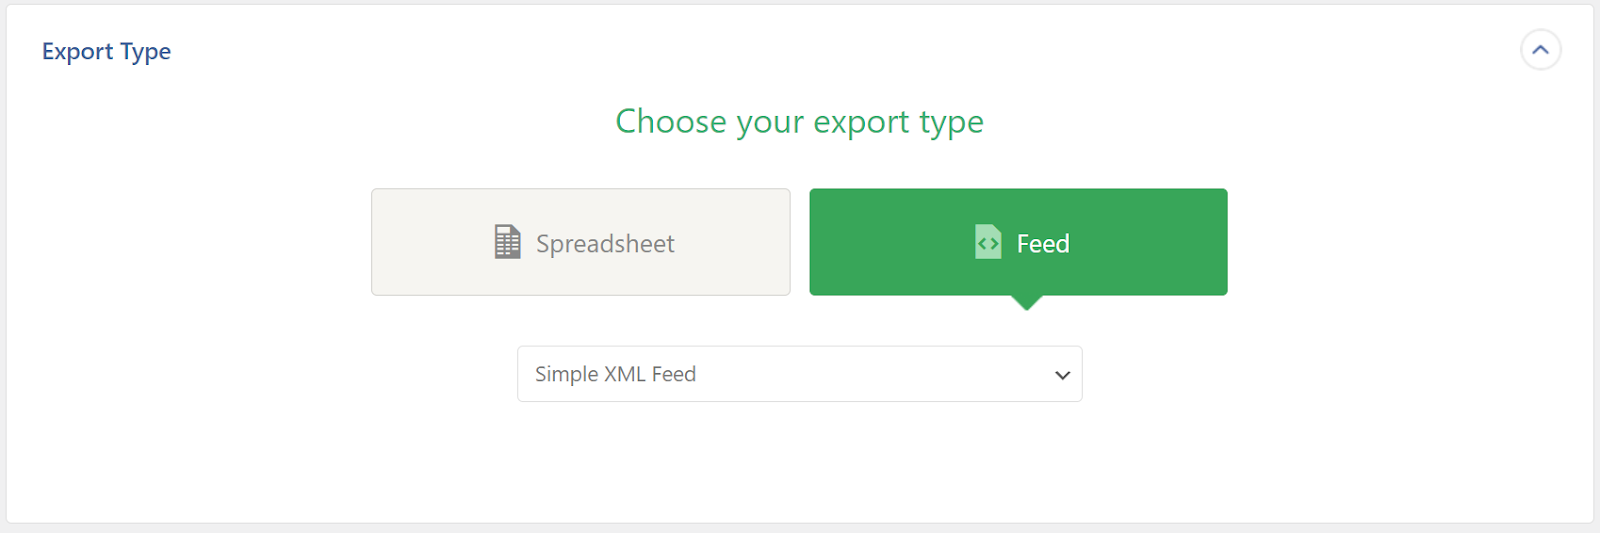
Here, we’ve switched our export type to Feed and selected the Simple XML Feed type. You can also create a Custom XML Feed or an Excel feed in either format.
For more information, see Export WordPress to CSV, Excel, or XML.
Combining two powerful tools can be of great benefit to WordPress & WooCommerce users.
In this case, we have combined the powerful capabilities of Meta Box to create custom fields with the ability to export the data from those fields using WP All Export.
Over the next few months, we’ll be adding more documents and videos to help you take advantage of this beneficial relationship.