Are you a WooCommerce store owner looking to bulk import products into your store?
Manually adding products to your WooCommerce store can be an incredibly time-consuming and tedious process. As your business grows, entering product details one by one becomes impractical and can significantly slow down your store’s expansion. This is where bulk importing products using third-party plugins can be very helpful.
This detailed guide will walk you through the process of importing products into WooCommerce using the WP All Import plugin.
Step-by-Step: How to Bulk-Import WooCommerce Products
There are many WooCommerce import plugins available that allow you to import hundreds of products in just a few clicks.
One such popular plugin is WP All Import, which allows you to import products in a few easy steps. It features a user-friendly drag-and-drop interface to map fields from your import file to WooCommerce fields and supports multiple formats, including CSV, Excel, Google Sheets, and XML.

In this guide, we’ll be using it to import WooCommerce products from a CSV file. But before we look at the step-by-step import process, let’s first install the plugin.
1. Install and Set Up the WP All Import Plugin
WP All Import lets you easily import all product data by breaking down the whole process into a few easy steps. To download the plugin, head over to the WP All Import website and purchase the plugin.
Navigate back to your WordPress dashboard and upload the zip file to the plugins page. Along with the core plugin, you’ll also need to install the WooCommerce Import add-on to add WooCommerce Product import support to the plugin.
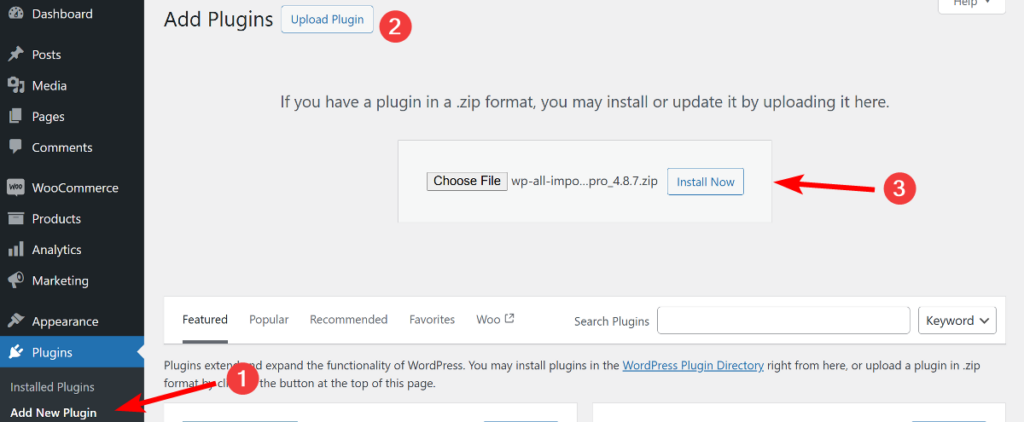
Once both the core plugin and the add-on are installed, let’s start the import process.
2. Start a New WooCommerce Import and Upload Your Product Data File
To begin with the import process, go to All Import › New Import in your WordPress dashboard. WP All Import gives you three ways to load your product data.
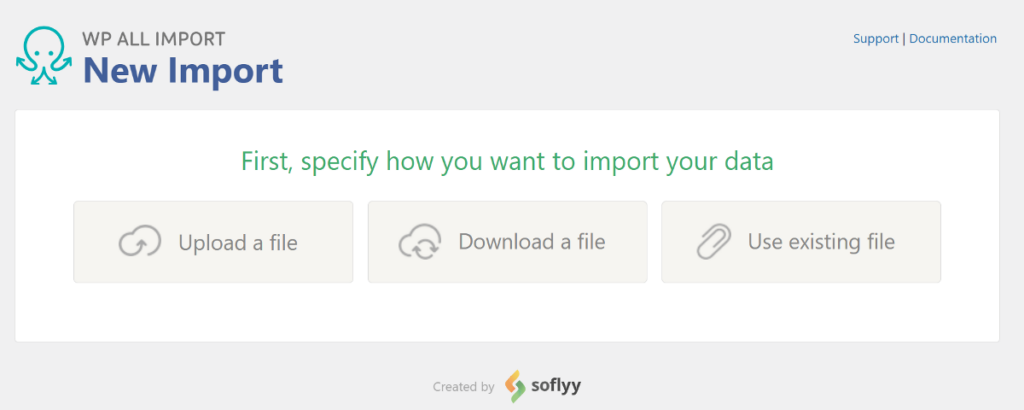
You can upload a file from your computer, download a file from a URL or FTP server, or select an already uploaded file on your server. For this guide, we’ll assume you have the product data loaded in a file on your computer.
Click the Upload file option and select the import file from your local disk. Then, choose WooCommerce Products as the import data type. After making your selection, click Continue to Step 2 at the bottom of the page.
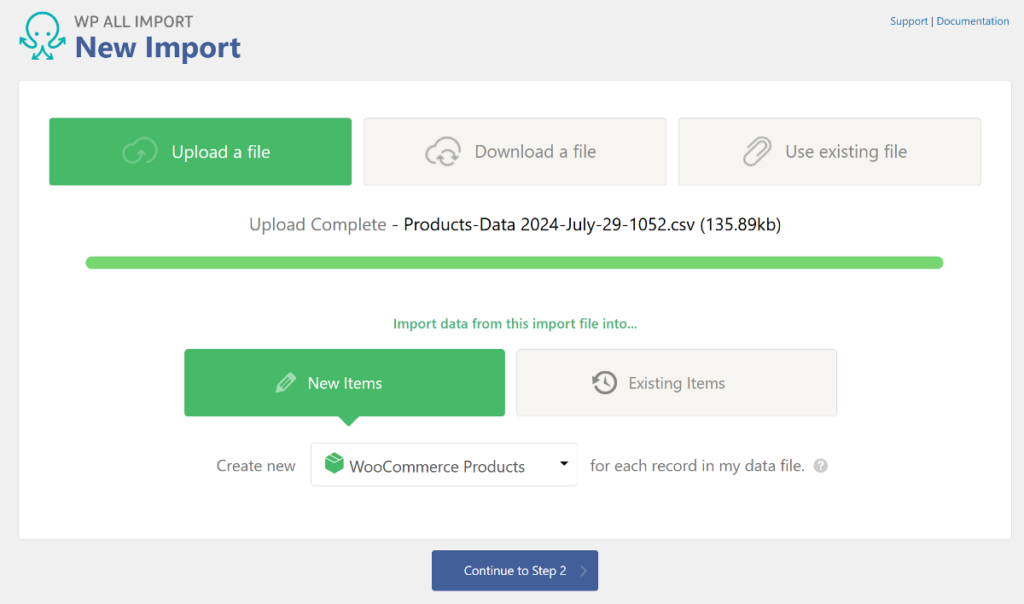
After uploading, WP All Import will display your product data in a table format. This step allows you to verify that your data has been read correctly. You can use the arrows on each side of the table to navigate between the records.
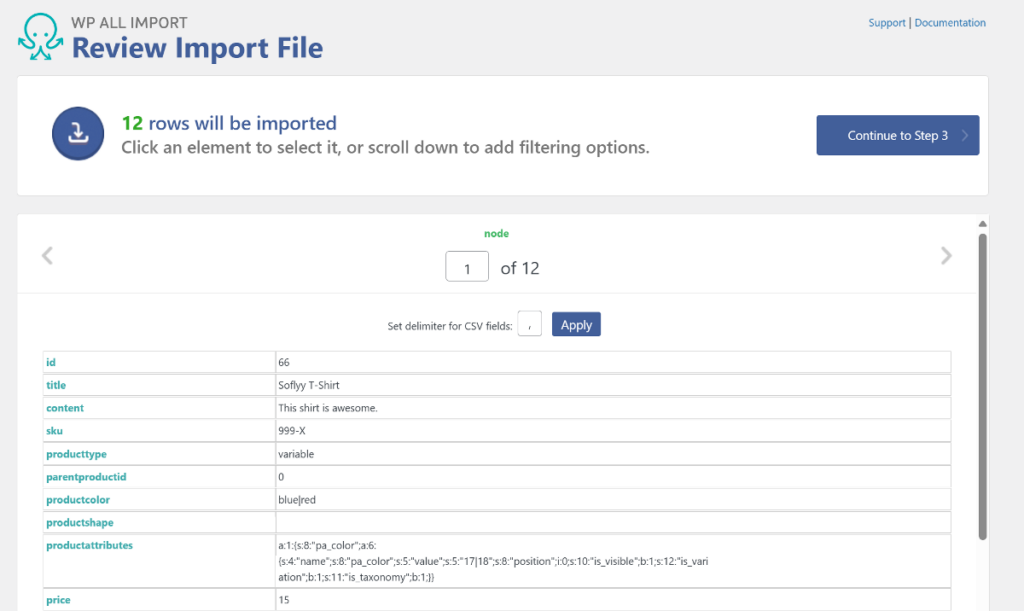
The same page also includes a filtering option that allows you to import a specific subset from your import file. If you want to import all of the products in your import file, you can skip the filtering step and click the Continue to Step 3 button.
If you want to learn more about the filtering option, WP All Import has an article that covers it in detail.
3. Map Incoming Data to WooCommerce Product Fields
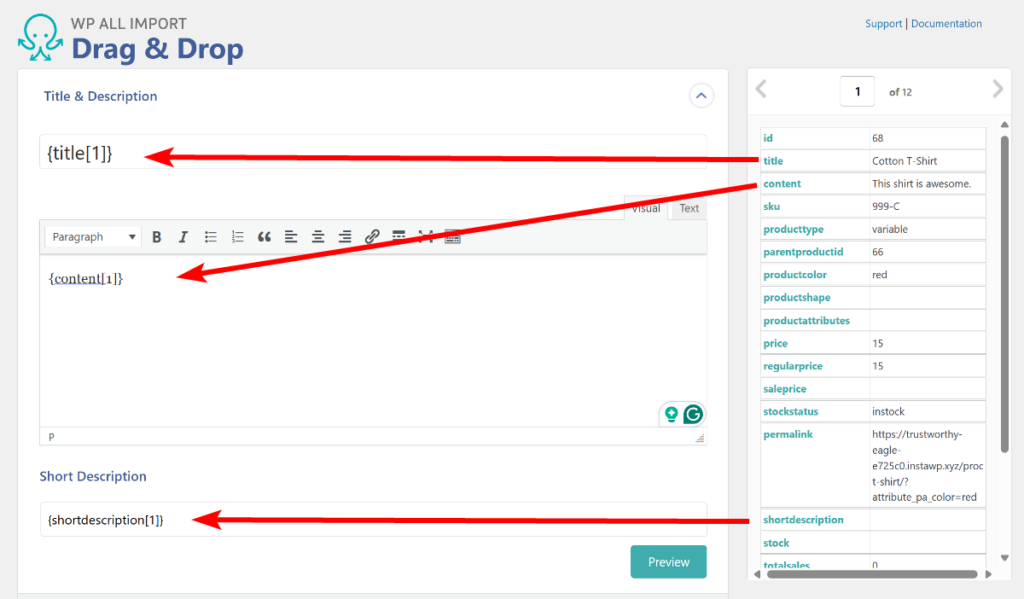
This is the main step in the whole import process. Here, WP All Import divides the page into two sections: your product data in a table on the right and the WooCommerce product fields on the left.
It gives you a drag-and-drop interface that allows you to map fields from the table on the right to the corresponding WooCommerce fields on the left. Start by mapping essential fields like product title, description, and short description.
Then, expand the WooCommerce add-ons panel to access additional fields. The WooCommerce add-ons panel displays the fields in a similar interface to what you see when you manually add a new product in WooCommerce. Here, start by selecting the product type you’re trying to import from the dropdown.
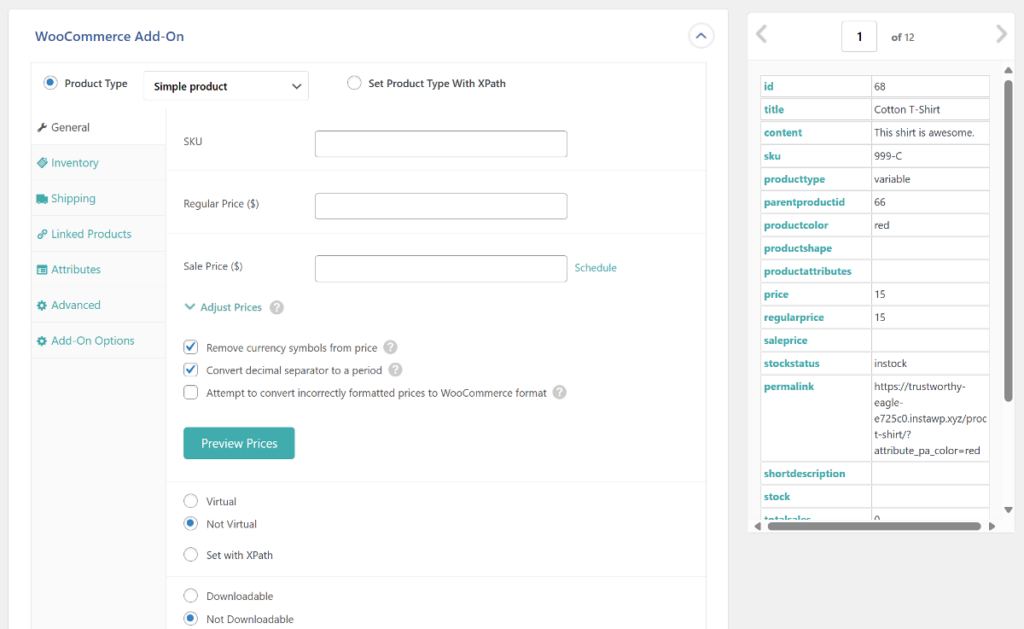
The panel includes tabs for General, Inventory, Shipping, Linked Products, Attributes, Advanced, and more. Go through each tab and map the relevant fields from your import file.
Configure WooCommerce Product Pricing and Inventory
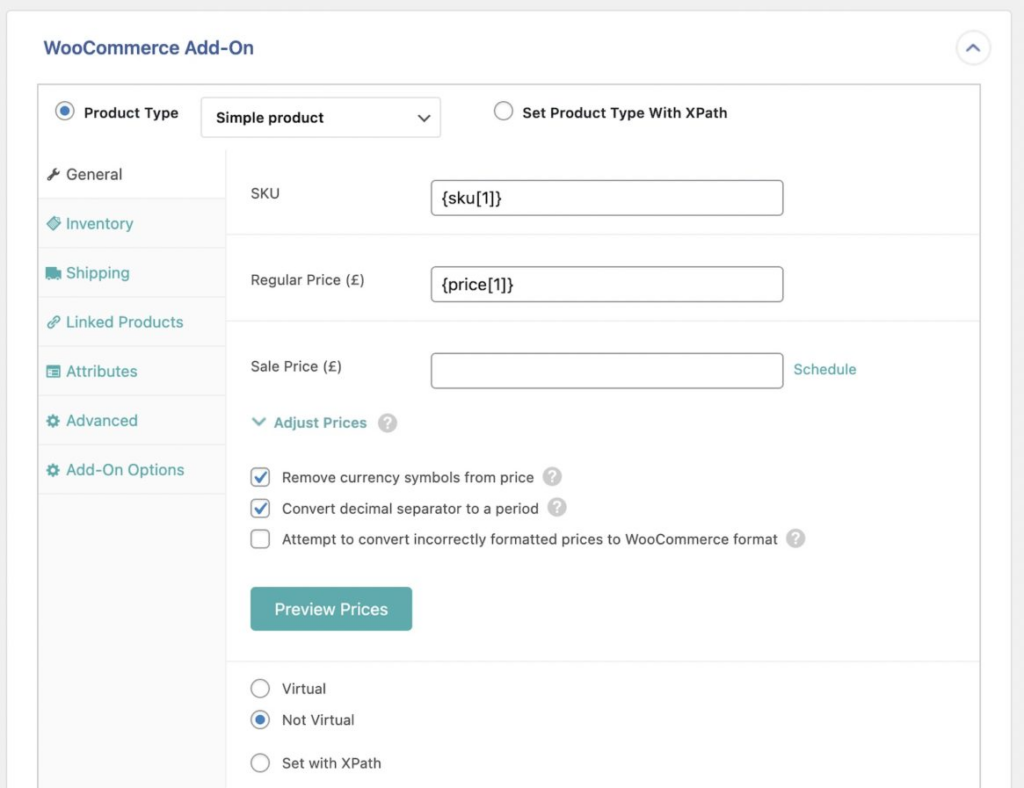
In the General tab, you can map fields for SKU, Regular Price, and Sale Price. You can also set up price adjustments and configure options for handling currency symbols and decimal separators.
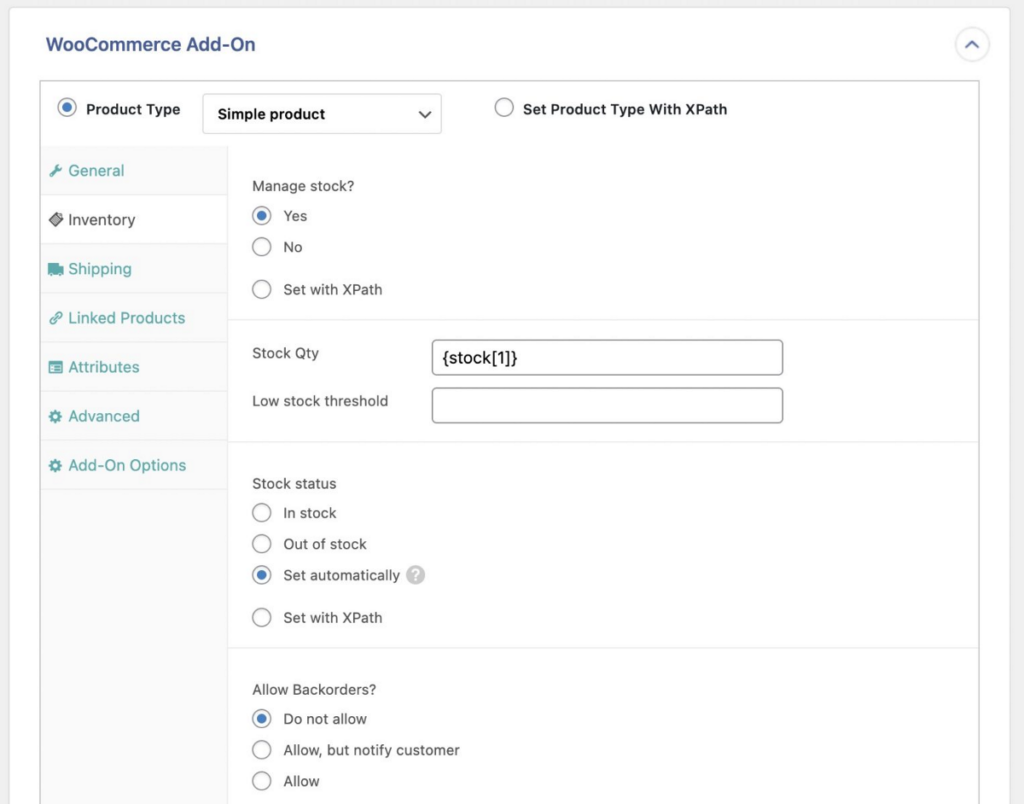
The inventory tab allows you to set up stock management, stock status, backorder settings, and whether products can be sold individually.
Manage WooCommerce Product Variations
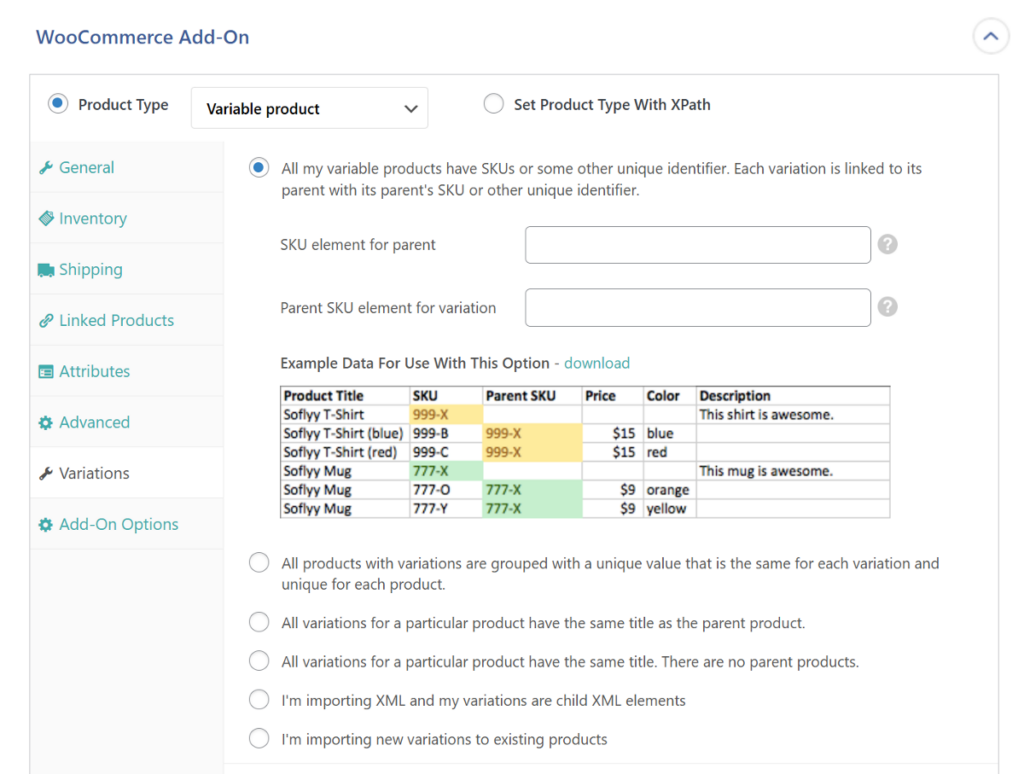
If you’re importing variable products and setting it as the product type, a new Variations tab appears. Variable Products are one of the complex product types to import, but WP All Import makes it easy by offering six pre-designed options for how variations are structured in your import file. This makes it easy to map parent-child relationships.
Import WooCommerce Product Images and Galleries
WP All Import has a dedicated panel for product image settings. It gives you three ways to import images. You can import images hosted on the cloud, from your WordPress media library or uploaded to a different folder in your WordPress installation.
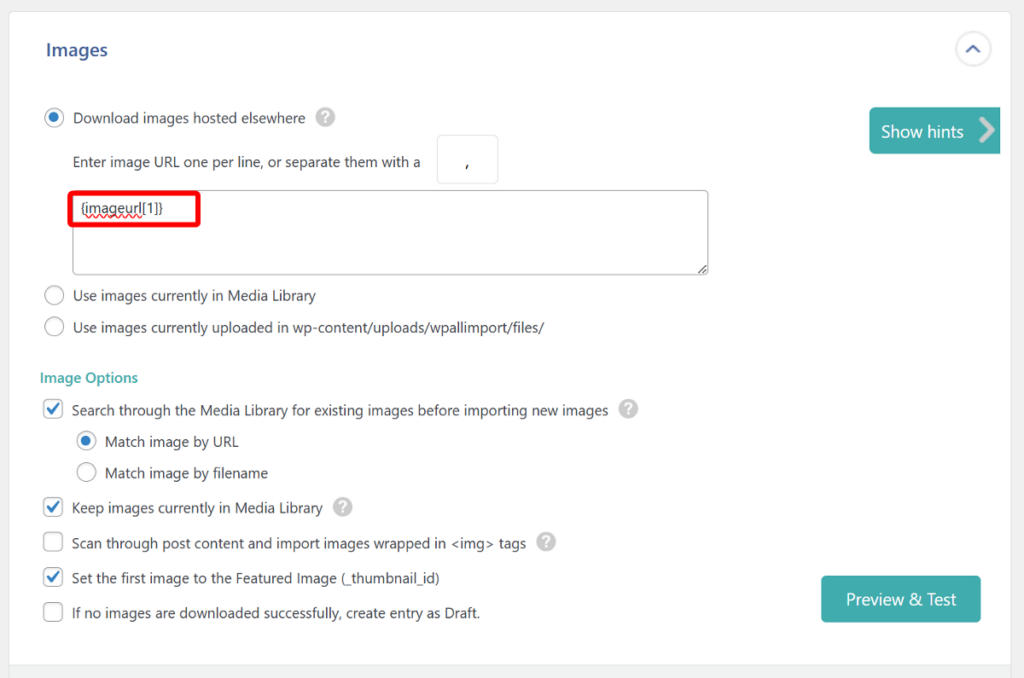
The same panel also includes options for searching existing images, setting featured images, scanning for images in HTML tags, and handling products without images.
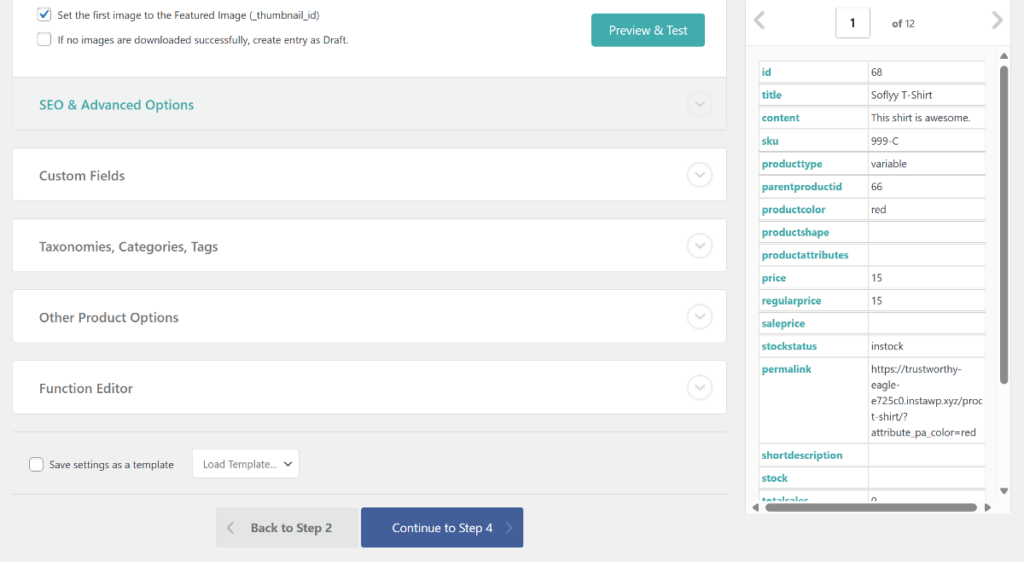
There are a few more panels on the page to map Taxonomies, Custom Fields, and Other Products Fields. Once you’ve mapped all the fields, click Continue to Step 4 to proceed to the next step.
4. Configure Extra WooCommerce Product Import Settings
After mapping your fields, you’ll reach the Import Settings page, which includes several important configuration options.
The first panel on the page is the Unique Identifier panel, which helps distinguish between products in your import file. Click the Auto-detect button, and WP All Import will select the best identifier from your file, such as SKU, product ID, or product title.
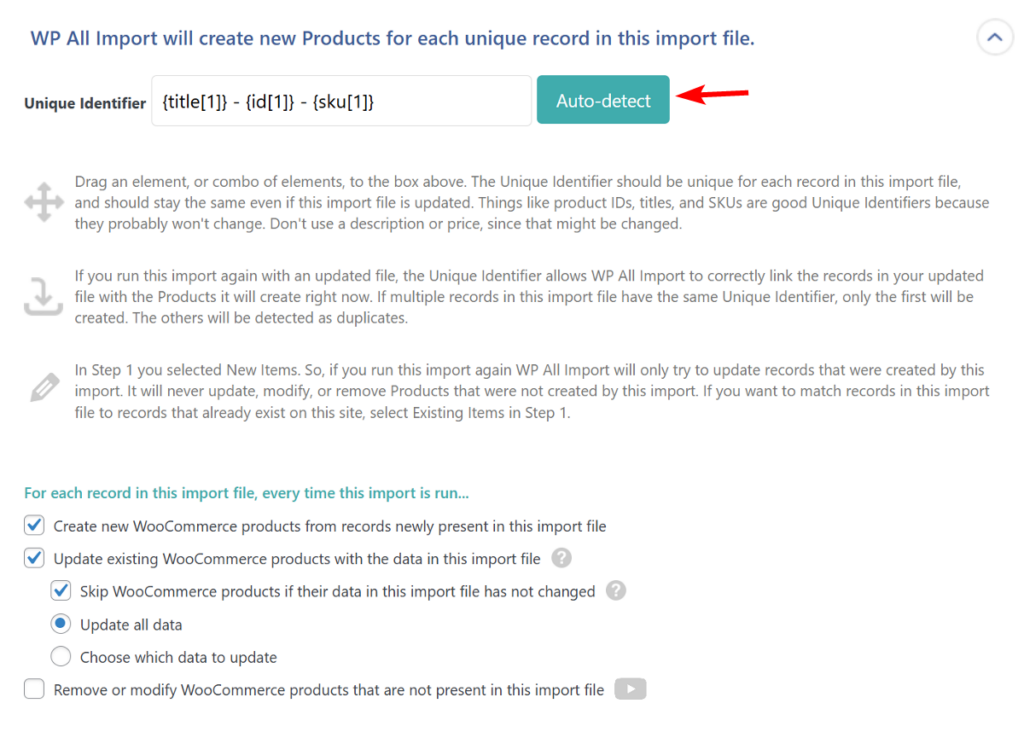
This identifier is important when running the same import multiple times, as it allows the plugin to correctly link records in your updated file with existing products.
The panel also includes various options for updating existing products. You can learn more about these options in this article.
There’s also a scheduling option that works when you import a file from a URL or use a file uploaded on your server. You can learn about it too from WP All Import’s documentation on import scheduling.
5. Run the WooCommerce Product Import
After configuring all settings, click Continue to move to the final Confirm & Run Import page. This page provides a summary list of all your import settings, allowing you to review everything before starting the import process.
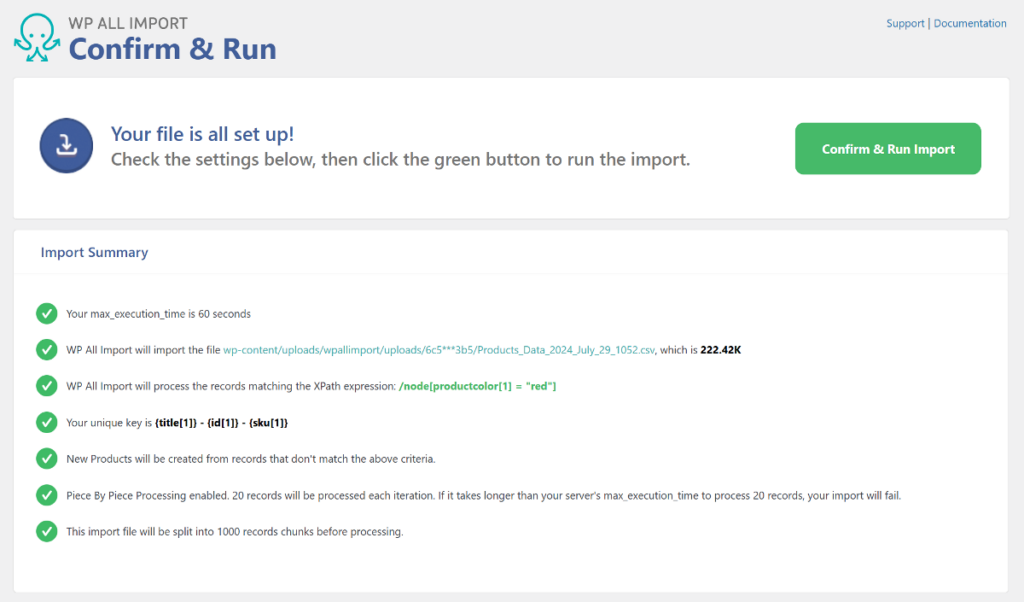
Carefully go through each item in the list to ensure all settings are correct before clicking the Confirm & Run Import button to begin the process.
Depending on the products in your file, WP All Import will take a few seconds to run the import. During the import, it’ll display a real-time progress bar and a detailed log of the import process.
This log includes information on each product being imported, any errors encountered, and the overall status of the import. Once complete, you’ll see a summary showing how many new products were created, how many existing products were updated, and any errors that occurred during the import process.
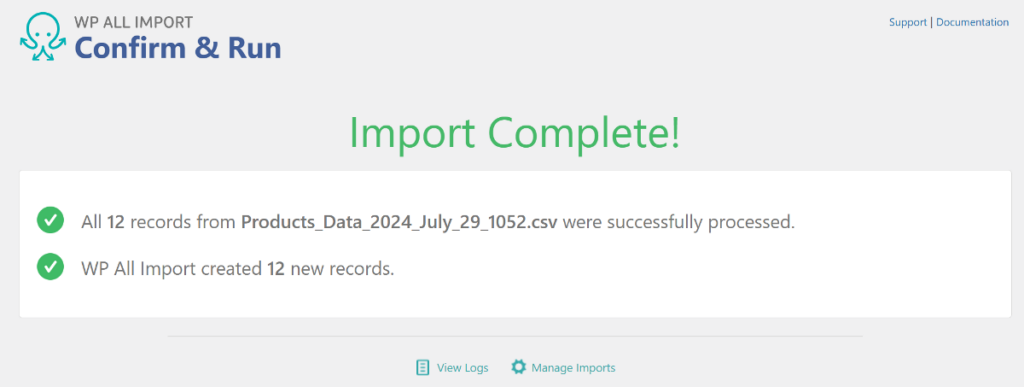
After the import finishes, you can navigate to Products › All Products to review the newly added or updated products. Take time to check a sample of products to ensure all data was imported correctly.
Import Products in WooCommerce – Frequently Asked Questions
How To Bulk Upload Products in WooCommerce?
To bulk upload products to WooCommerce, just follow the steps in this tutorial while using an import file that contains multiple products. There is nothing special about the bulk import process. Most imports contain multiple products.
How To Import Variable Products in WooCommerce?
- Go to All Import › New Import.
- Select your import file and choose WooCommerce Products as the import type.
- Select the Product type as a Variable product and select your variation structure.
- Map incoming data elements to your WooCommerce target fields with drag & drop.
- Run the import.
How Do I Add Products From Excel to WooCommerce?
To import products from an Excel file, just specify the Excel file as your import source in the All Import › New Import screen. WP All Import will recognize the file format and will automatically adjust its interface accordingly.
